Classic Butter Croissants are more than just a breakfast item; they’re a warm embrace that beckons you to indulge in their flaky layers and rich buttery flavor. Imagine golden, crescent-shaped pastries coming out of the oven, their delightful scent wafting through your home and transforming your morning routine. While the art of croissant-making may seem daunting, this recipe breaks it down into manageable steps, allowing you to experience the joy of crafting these delightful treats from scratch. Get ready to wow your family and friends with your baking skills by serving these divine croissants, ideal for any event.
Gather Your Ingredients: Setting Up for Flaky, Buttery Success!
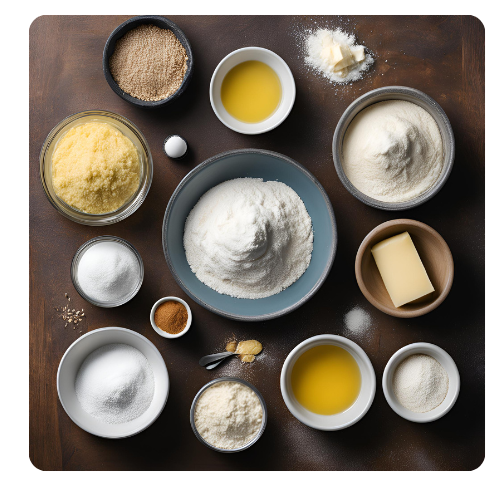
For the Dough:
- 4 cups all-purpose flour
- 1/2 cup granulated sugar
- 2 1/4 tsp (1 packet) active dry yeast
- 1 1/2 tsp salt
- 1 cup warm milk (around 110°F)
- 1/4 cup unsalted butter, melted
- 1 large egg
For the Butter Block:
- 1 1/2 cups unsalted butter, cold and cut into pieces
For the Egg Wash:
1 tbsp milk
1 egg
Step 1: Prepare the Dough
Begin by adding the yeast to the warm milk. If it gets foamy in 5 minutes, you’re good to go! Incorporate sugar, melted butter, and an egg, stirring until everything is well combined. Gradually fold in flour and salt until you have a smooth, soft dough.

Knead the dough on a floured surface for about five minutes, then cover and refrigerate for one hour. This time in the fridge is key to keeping it easy to work with.
Step 2: Make the Butter Block
Now, we’re on to the butter—the heart of any good croissant! Place the cold butter between two sheets of parchment paper and gently pound it into an 8×10-inch rectangle. Once you’ve shaped it, refrigerate until firm but still slightly pliable.

Step 3: Laminating the Dough
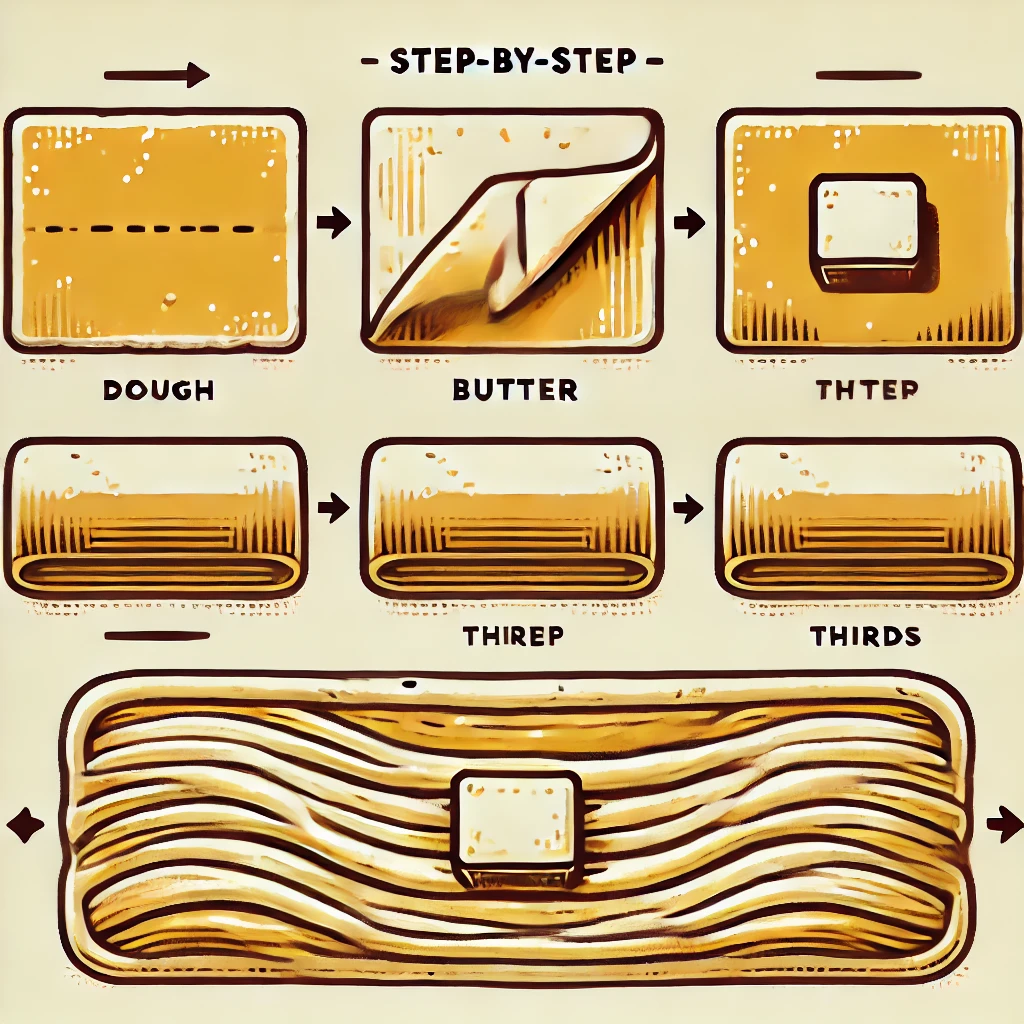
After chilling, roll the dough into a 12×18-inch rectangle. Place the butter block on one side of the dough, then fold the other half over it to seal. This step focuses on ‘laminating’ the butter into the dough.
Roll the dough carefully into a 10×20-inch rectangle and fold it into thirds, like a letter. This is called a “turn.” Wrap the dough and refrigerate for one hour to keep the butter cold. Repeat this process twice more, chilling for an hour between each fold.
With each fold, you’re creating those flaky layers that make croissants so deliciously tempting!
Step 4: Shape the Croissants
After the final fold and chill, it’s time to shape! Roll the dough out to about 1/4 inch thick, then use a sharp knife to cut triangles with a 3-inch base.
Take each triangle and gently stretch it by holding the base and tip. Then, start rolling from the base toward the tip to create that classic croissant shape.
Place your rolled croissants on a lined baking sheet, with the tip tucked underneath to hold the shape while baking. Space them about 2 inches apart.
Step 5: Proofing the Croissants
Cover the shaped croissants with a clean kitchen towel and let them proof in a warm, draft-free place for 1-2 hours. They should double in size. This proofing stage is essential for achieving that light and airy texture inside, so take your time with it!
Step 6: Bake to Golden Perfection
Preheat your oven to 400°F (200°C). Before baking, whisk an egg with a tablespoon of milk, then gently brush each croissant for a beautiful golden crust.
Bake for 15-20 minutes until they’re golden and crisp. The kitchen will smell heavenly!
Tips for the Perfect Flaky Classic Butter Croissants

- Keep it Cool: Classic Butter Croissants-making requires chilled ingredients. If the butter melts, it will blend into the dough rather than forming layers. So, don’t skip those refrigeration steps!
- Master the Fold: The folding and turning process creates the layers, so follow each step carefully to achieve that signature flakiness.
- Don’t Rush Proofing: Proofing lets the croissants expand and develop their airy texture. If they’re under-proofed, they’ll be dense rather than light.
Frequently Asked Questions
Q: Why is my butter melting?
A: Warm temperatures make butter tricky to handle, so be sure to chill your dough and butter regularly.
Q: Can I freeze croissant dough?
A: Yes! You can freeze unbaked croissants on a tray and transfer them to an airtight container. When you’re ready, thaw them in the fridge and proof as usual before baking.
Q: Can I use salted butter?
A: Although unsalted butter is preferred, salted butter can be used if you modify the salt in the dough.

Making Classic Butter Croissants at home may seem like a lot, but the results are beyond satisfying. Each golden, buttery bite reminds you of the care put into every fold, proof, and bake. And with a little patience, you’ll soon be enjoying croissants just like the ones at a Parisian café!
Now it’s your turn! Give this recipe a try and share the experience with family or friends. Every croissant reflects your commitment to excellent baking. Enjoy every flaky bite! Thank you for visiting our blog, and be sure to explore our other breakfast recipes to make your mornings even more delightful.


